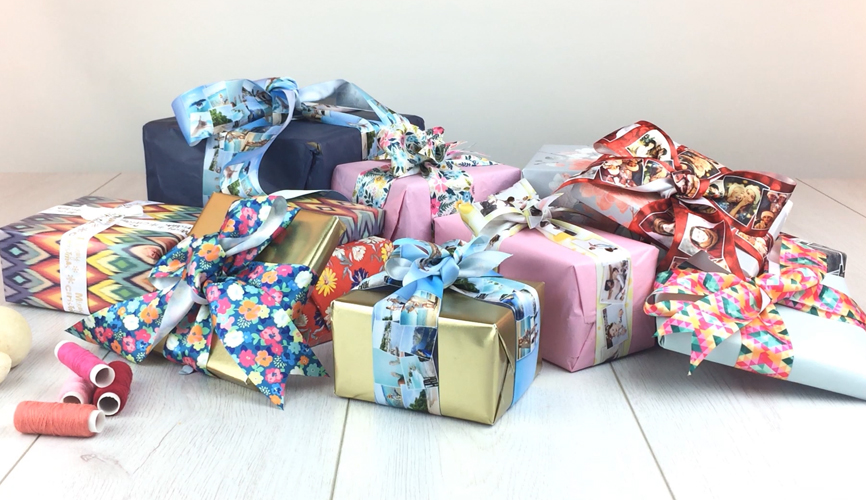
Knowing how to tie a ribbon on a present can turn any drab gift into a fab gift!
At Bags of Love, not only can you design your very own ribbon, but you can now learn how to make ribbon bows for gifts. Our crafty experts have chosen 2 classic ribbon bows, which will take your present wrapping skills to the next level. Perfect for birthdays, anniversaries, Christmas, or any other special occasion. Knowing how to tie a gift bag bow is a simple yet effective way to add an extra thoughtful touch to your gift.
How to tie a gift ribbon
Do you want to know how to tie ribbon like a total pro? We have two beautiful ribbon tying ideas for gifts. Watch our video below to find out how to tie a gift ribbon, in both gorgeous styles. The classic Tiffany bow is beautiful for any size gift but can look particularly adorable on small presents. The fancy-looking corner bow is ideal for adding pizzazz to square or rectangular gifts.
Step by step guide on how to make ribbon bows for gifts
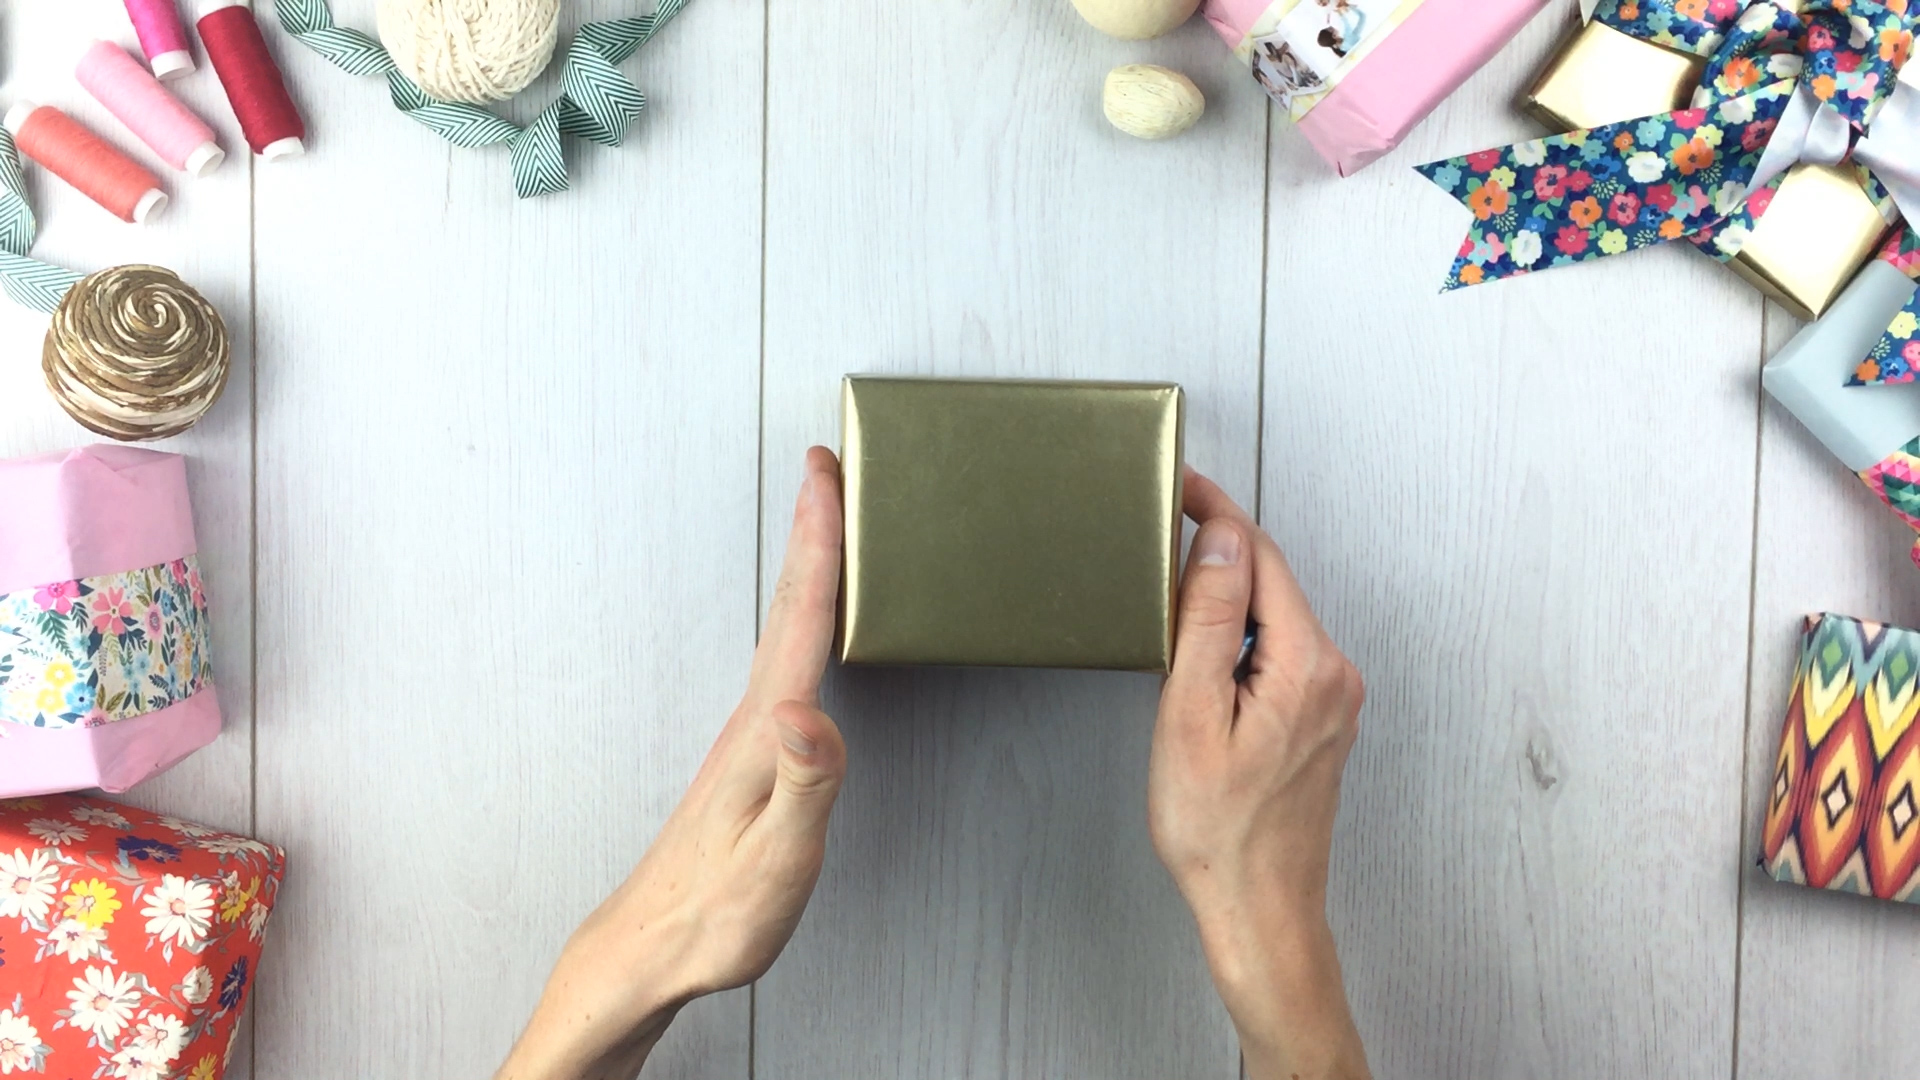
Here is what you will need to learn how to tie ribbon on a present:
- Your gift
- Wrapping paper
- Suitable sized ribbon to suit your gift (single or double sided is fine)
- Scissors
We created our own designs for our personalized wrapping paper and personalized ribbons. By designing the paper and ribbon yourself, you have the opportunity to make your present totally personal to the recipient. We love using photos and text to enhance the design and make it stand out against any other gifts surrounding it. Why not make your own gift labels too? Click the button at the end of the post to start your personalization journey.
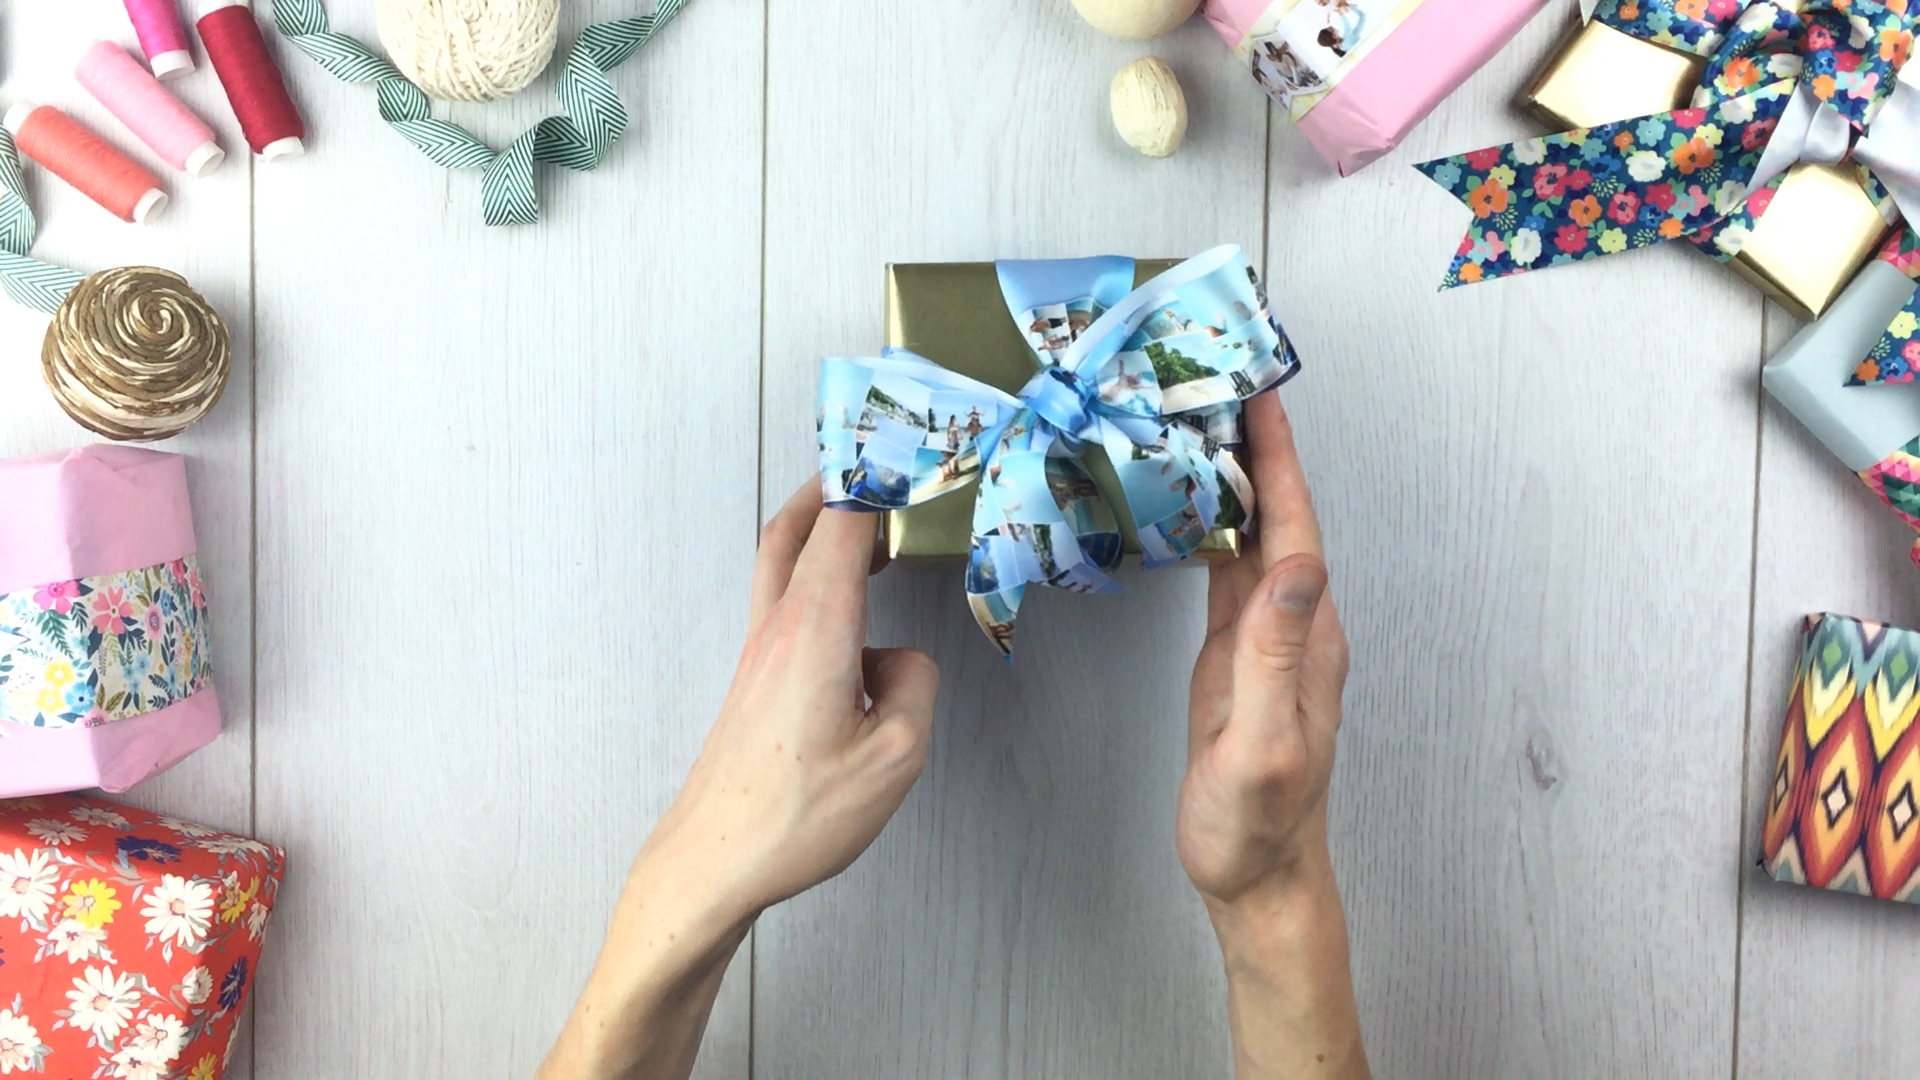
The first bow we will learn how to tie is the classic Tiffany bow.
Step 1.
Take your ribbon and hold down the center of your present.
Step 2.
Run the longer left end of the ribbon underneath the gift and over the top of the short end.
Step 3.
Placing your finger on the center point of the ribbon, fold your ribbon over and down 45°.
Step 4.
If you are using a single-sided ribbon, like we are in this video, then you will need to fold it a second time, as demonstrated.
Step 5.
Holding the center tightly, run the long side of the ribbon under your gift once again.
Step 6.
Tuck the long end of the ribbon underneath everything, and pull both ends taut into a knot.
Step 7.
Arrange so that the ribbon lies flat with the top printed side on display.
Step 8.
With your finger placed firmly on the knot, form a “rabbit ear” loop with the short end of the ribbon.
Step 9.
Run the long end around the rabbit ear, and under, tying a standard bow.
Step 10.
Arrange the bow to your taste, plumping and evening out the loops.
Step 11.
To make the ends prettier and more professional-looking, take the ends of the ribbon and fold them in half. With scissors, cut at 45° from the center of the fold to the edges of the ribbon.
Step 12.
Tighten and arrange your bow as you wish.
Stand back and admire your work!
We will now look at how to tie a ribbon corner bow
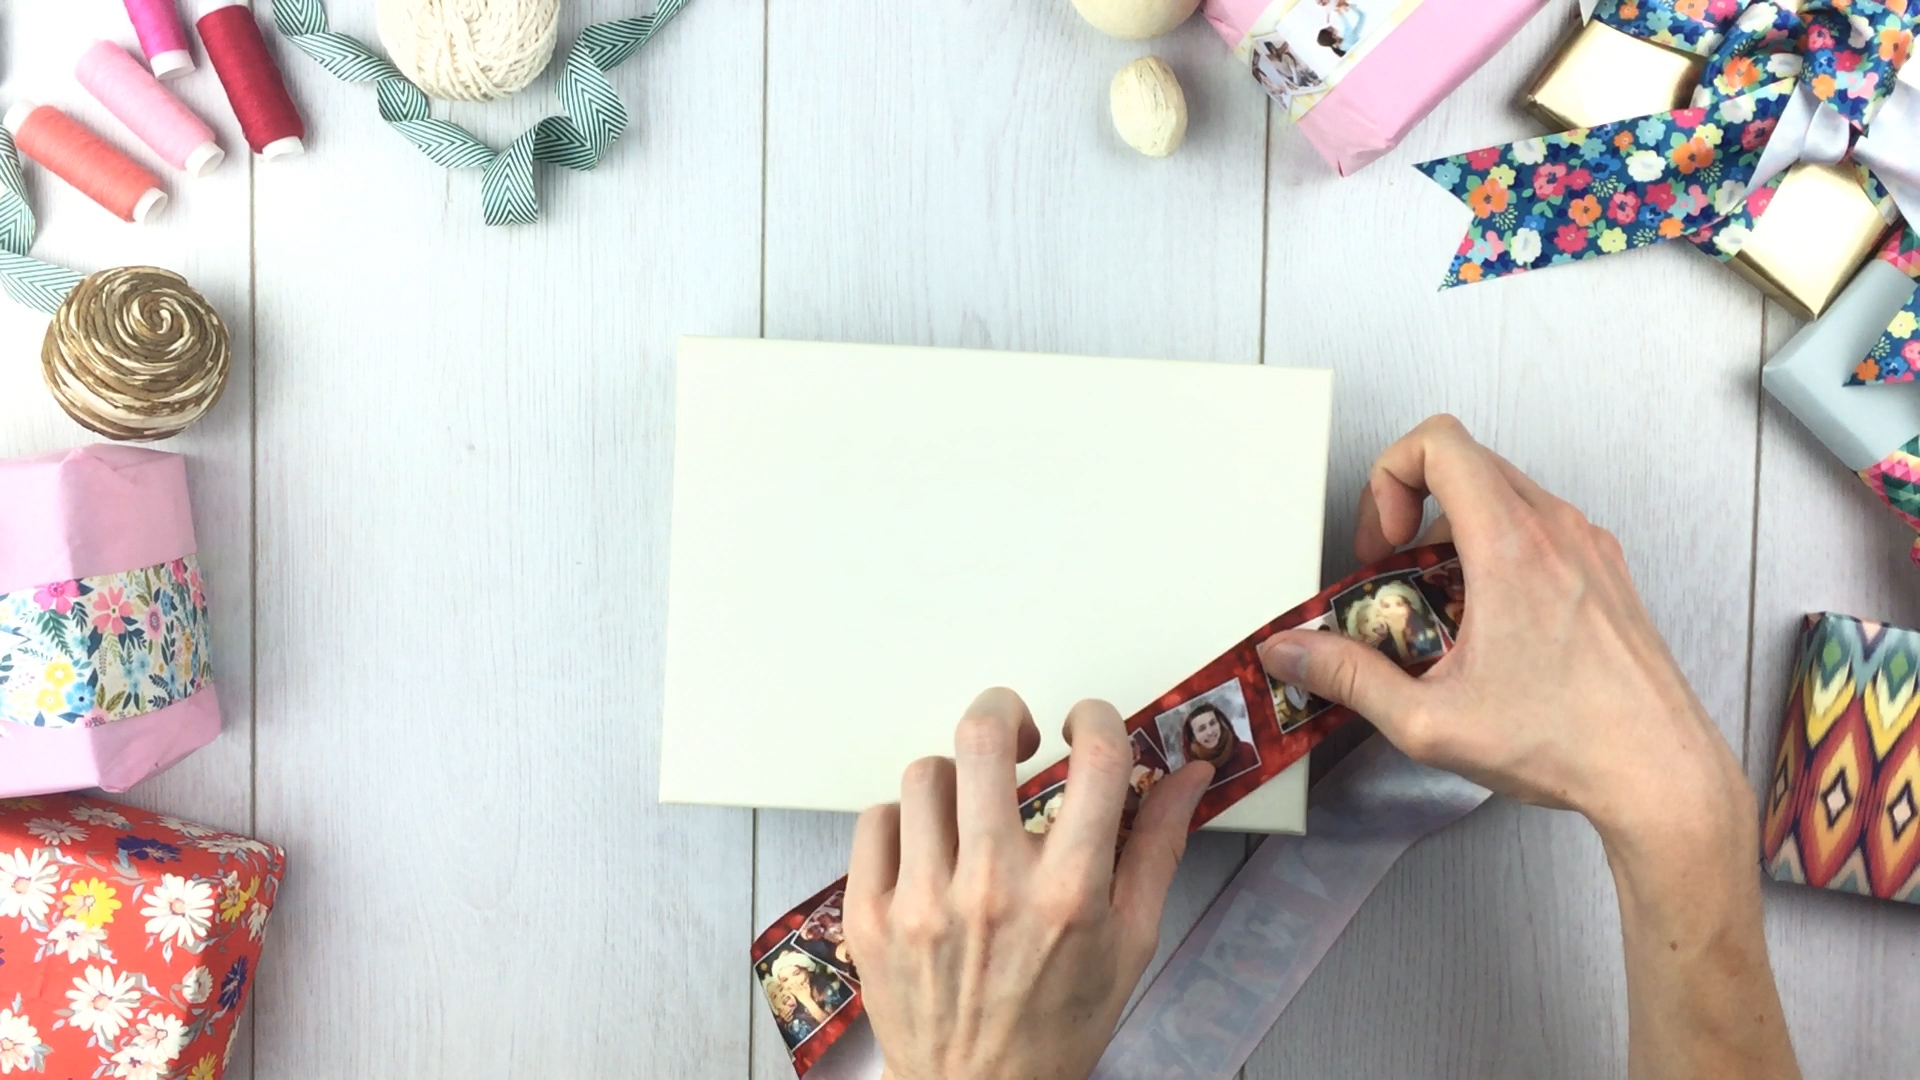
Step 1.
Choose your ribbon and find the center point by folding the ribbon in half, as shown in the video.
Step 2.
Place the center point on the corner of the box at 45°.
Step 3.
Flip the box upside down and pull both ends of the ribbon taut across the back.
Step 4.
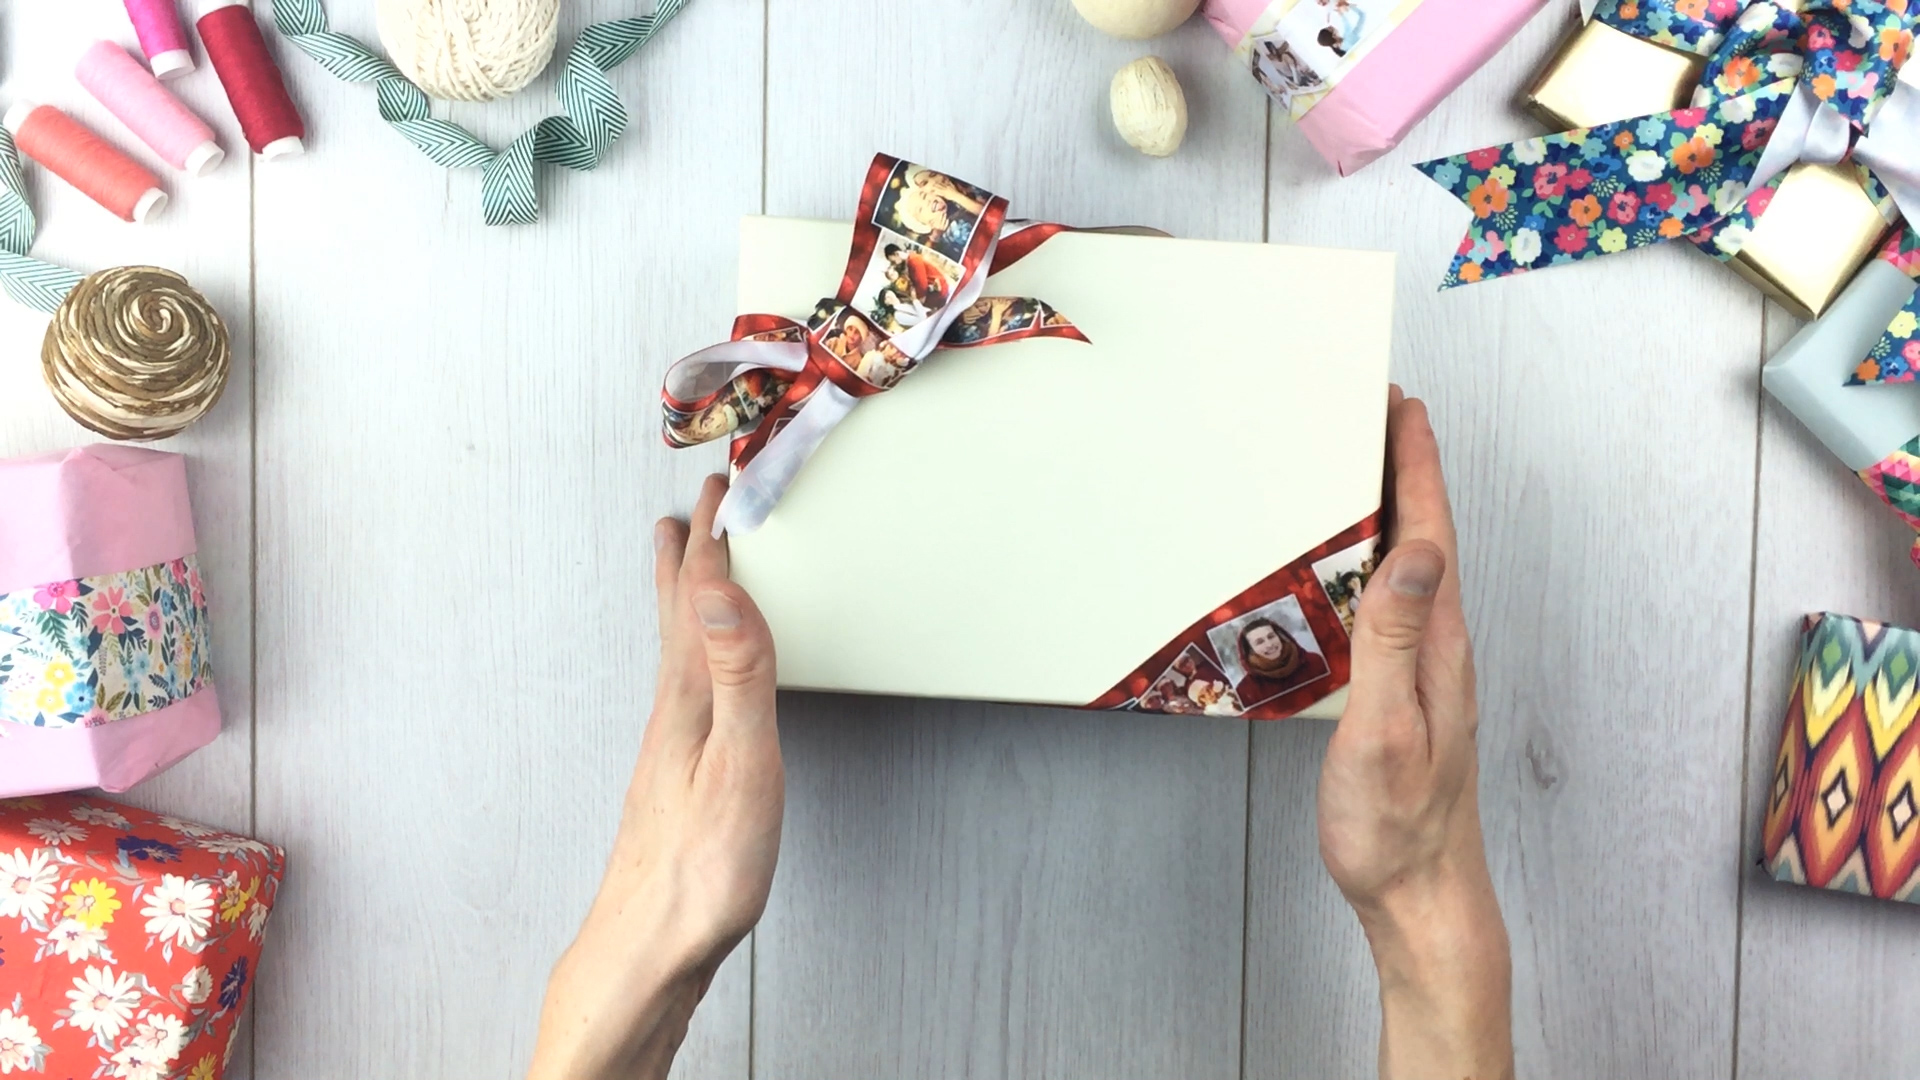
Flip the box the right way round again and tie both ends of the ribbon in a simple knot.
Step 5.
Form a rabbit ear loop and run the left side of the ribbon around and through to make a standard bow.
Step 6.
Arrange the bow as you wish and pull it tightly to secure it.
Step 7.
Take your scissors and cut across the ends of the ribbon at 45°.
Step 8.
Arrange and perfect your bow, tidying the corners and ensuring the loops are even.
Stand back and admire your work!
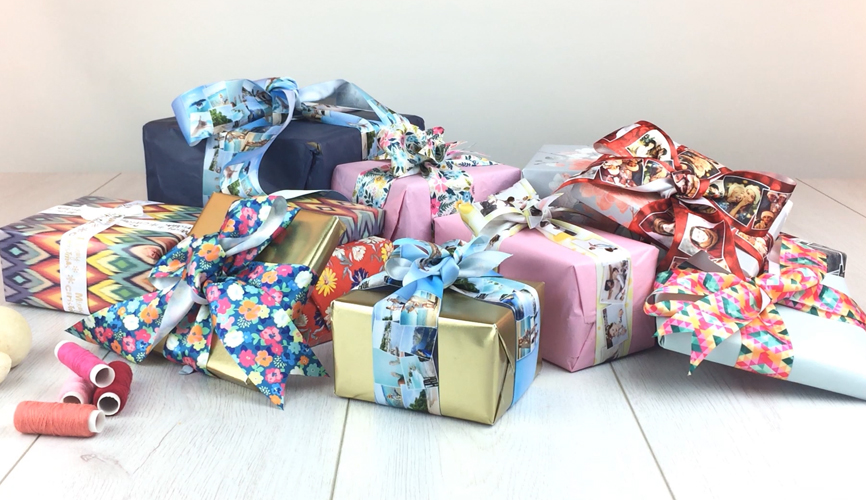
Knowing how to tie ribbon on a present can enhance any occasion
Now you are a real professional at tying the perfect bow with your ribbon, why not apply this method to all gifts? Bypass the shops with their generic wrapping paper and ribbons, and create truly personalized gifts for your friends and family. Design different wrapping paper and ribbons to suit all occasions, and have fun setting up your own gift-wrapping service. Your loved ones will be so touched by the extra effort you have made. Our online design platform allows you to print anything you want on your paper and ribbons, from photos and collages to artwork and even the kid’s doodle drawings.
Are you ready to put your ribbon tying skills to the test? Click on the button below to get started designing your own ribbon, and have fun! Make sure you share your final results with us.
